Tag: Clothing

General Guide: How to Dress Baby for Winter

General Guide: How to Dress Baby for Winter

It’s hard to travel light when you have a baby, unless you are a very chill parent, or you can afford to buy most things at your destination. To add to the load, travelling during winter meant more things to pack into the luggage. This post is 

Pack for Baby Travel (Winter)

Pack for Baby Travel (Winter)

I suppose you are planning a trip with your baby and that’s why you are here. Is it going to be the first time you are travelling with an infant? Then, read about my first travel experience with 8 month old baby during winter. If 

First Timer: Skiing at Niseko

First Timer: Skiing at Niseko

Whether you are skiing at Niseko (Hokkaido) or elsewhere, here are some useful pointers based on our skiing experience at Niseko. Simply skip the first part about ski rental if you’re not skiing at Niseko.

It was our first time skiing and it was tiring but so fun! Moreover, it was a blessing that our first time is at Niseko because it is famous for its endless light powder snow, spectacular backdrop, long ski runs, trail skis and after-ski activities. Wait a minute, what’s powder snow? As a beginner skier, I was not sure what’s the rave about it. I first fell in love with Japan’s snow at SapporoTomamu, and then at Noboribetsu. So we came to Niseko thinking nothing can be more amazing.

Niseko Ski Trip 4 - travel.joogo.sg

Then Niseko’s soft snow fell on us and it felt… JUST LIKE POWDER! It was magical. Grabbing the soft powdery snow lying on the grounds, it was as if I was in a bottle of talcum powder. The incredible quantity of such dry and powdery snow makes Niseko a wonderful place to ski. I had asked our ski instructor and other experienced students who skied elsewhere (e.g. in Italy and Korea), and Niseko wins hands down as the best place to ski!

I’ve written separate posts on what to wear for skiing, good-to-know ski lingo, where to stay and eat at Niseko. You can also read about our Ki Niseko experience.


Ski Rental at Niseko


We rented from Grand Hirafu Rentals Gondola Shop (“Gondola Shop”) because it’s only about 200 metres away from our hotel, Ki Niseko. Actually Rhythm Snow Sports Niseko (“Rhythm”) is a better option in terms of location. It has a counter right in our hotel that’s open for retail purchases, overnight tuning, waxing services and rental returns. Moreover, we can simply order online and Rhythm will deliver the rented ski equipment and wear from the main shop to us.

Ki Niseko Rhythmics - travel.joogo.sg

However, we went with Gondola Shop in the end because of the prices. Gondola Shop’s prices were much more affordable than Rhythm’s prices. Also being noobs, we wanted to try out the sizes for the ski jacket, pants, and boots to get fitting ones. As such, Rhythm became inconvenient because its main shop was further than Gondola Shop to visit and try. We had to take a bus to Rhythm’s main shop while we can simply walk to Gondola Shop from our hotel.

Niseko Ski Rental - travel.joogo.sg

After rental, you need to think about the storage for your skis and poles. If your accommodation is a quite a distance from the slopes, you can simply leave them overnight at the rental shop near the slopes. That is if you are a guest renting and staying at the Grand Hirafu.

Ki Niseko Valet - travel.joogo.sg

For us, our ski-in ski-out accommodation was near the slopes and has a private valet. So we just leave our ski gears there after each day. More on than in our Ki Niseko experience.

Ki Niseko Valet 1 - travel.joogo.sg


Skiing at Niseko


Ski school: GoSnow

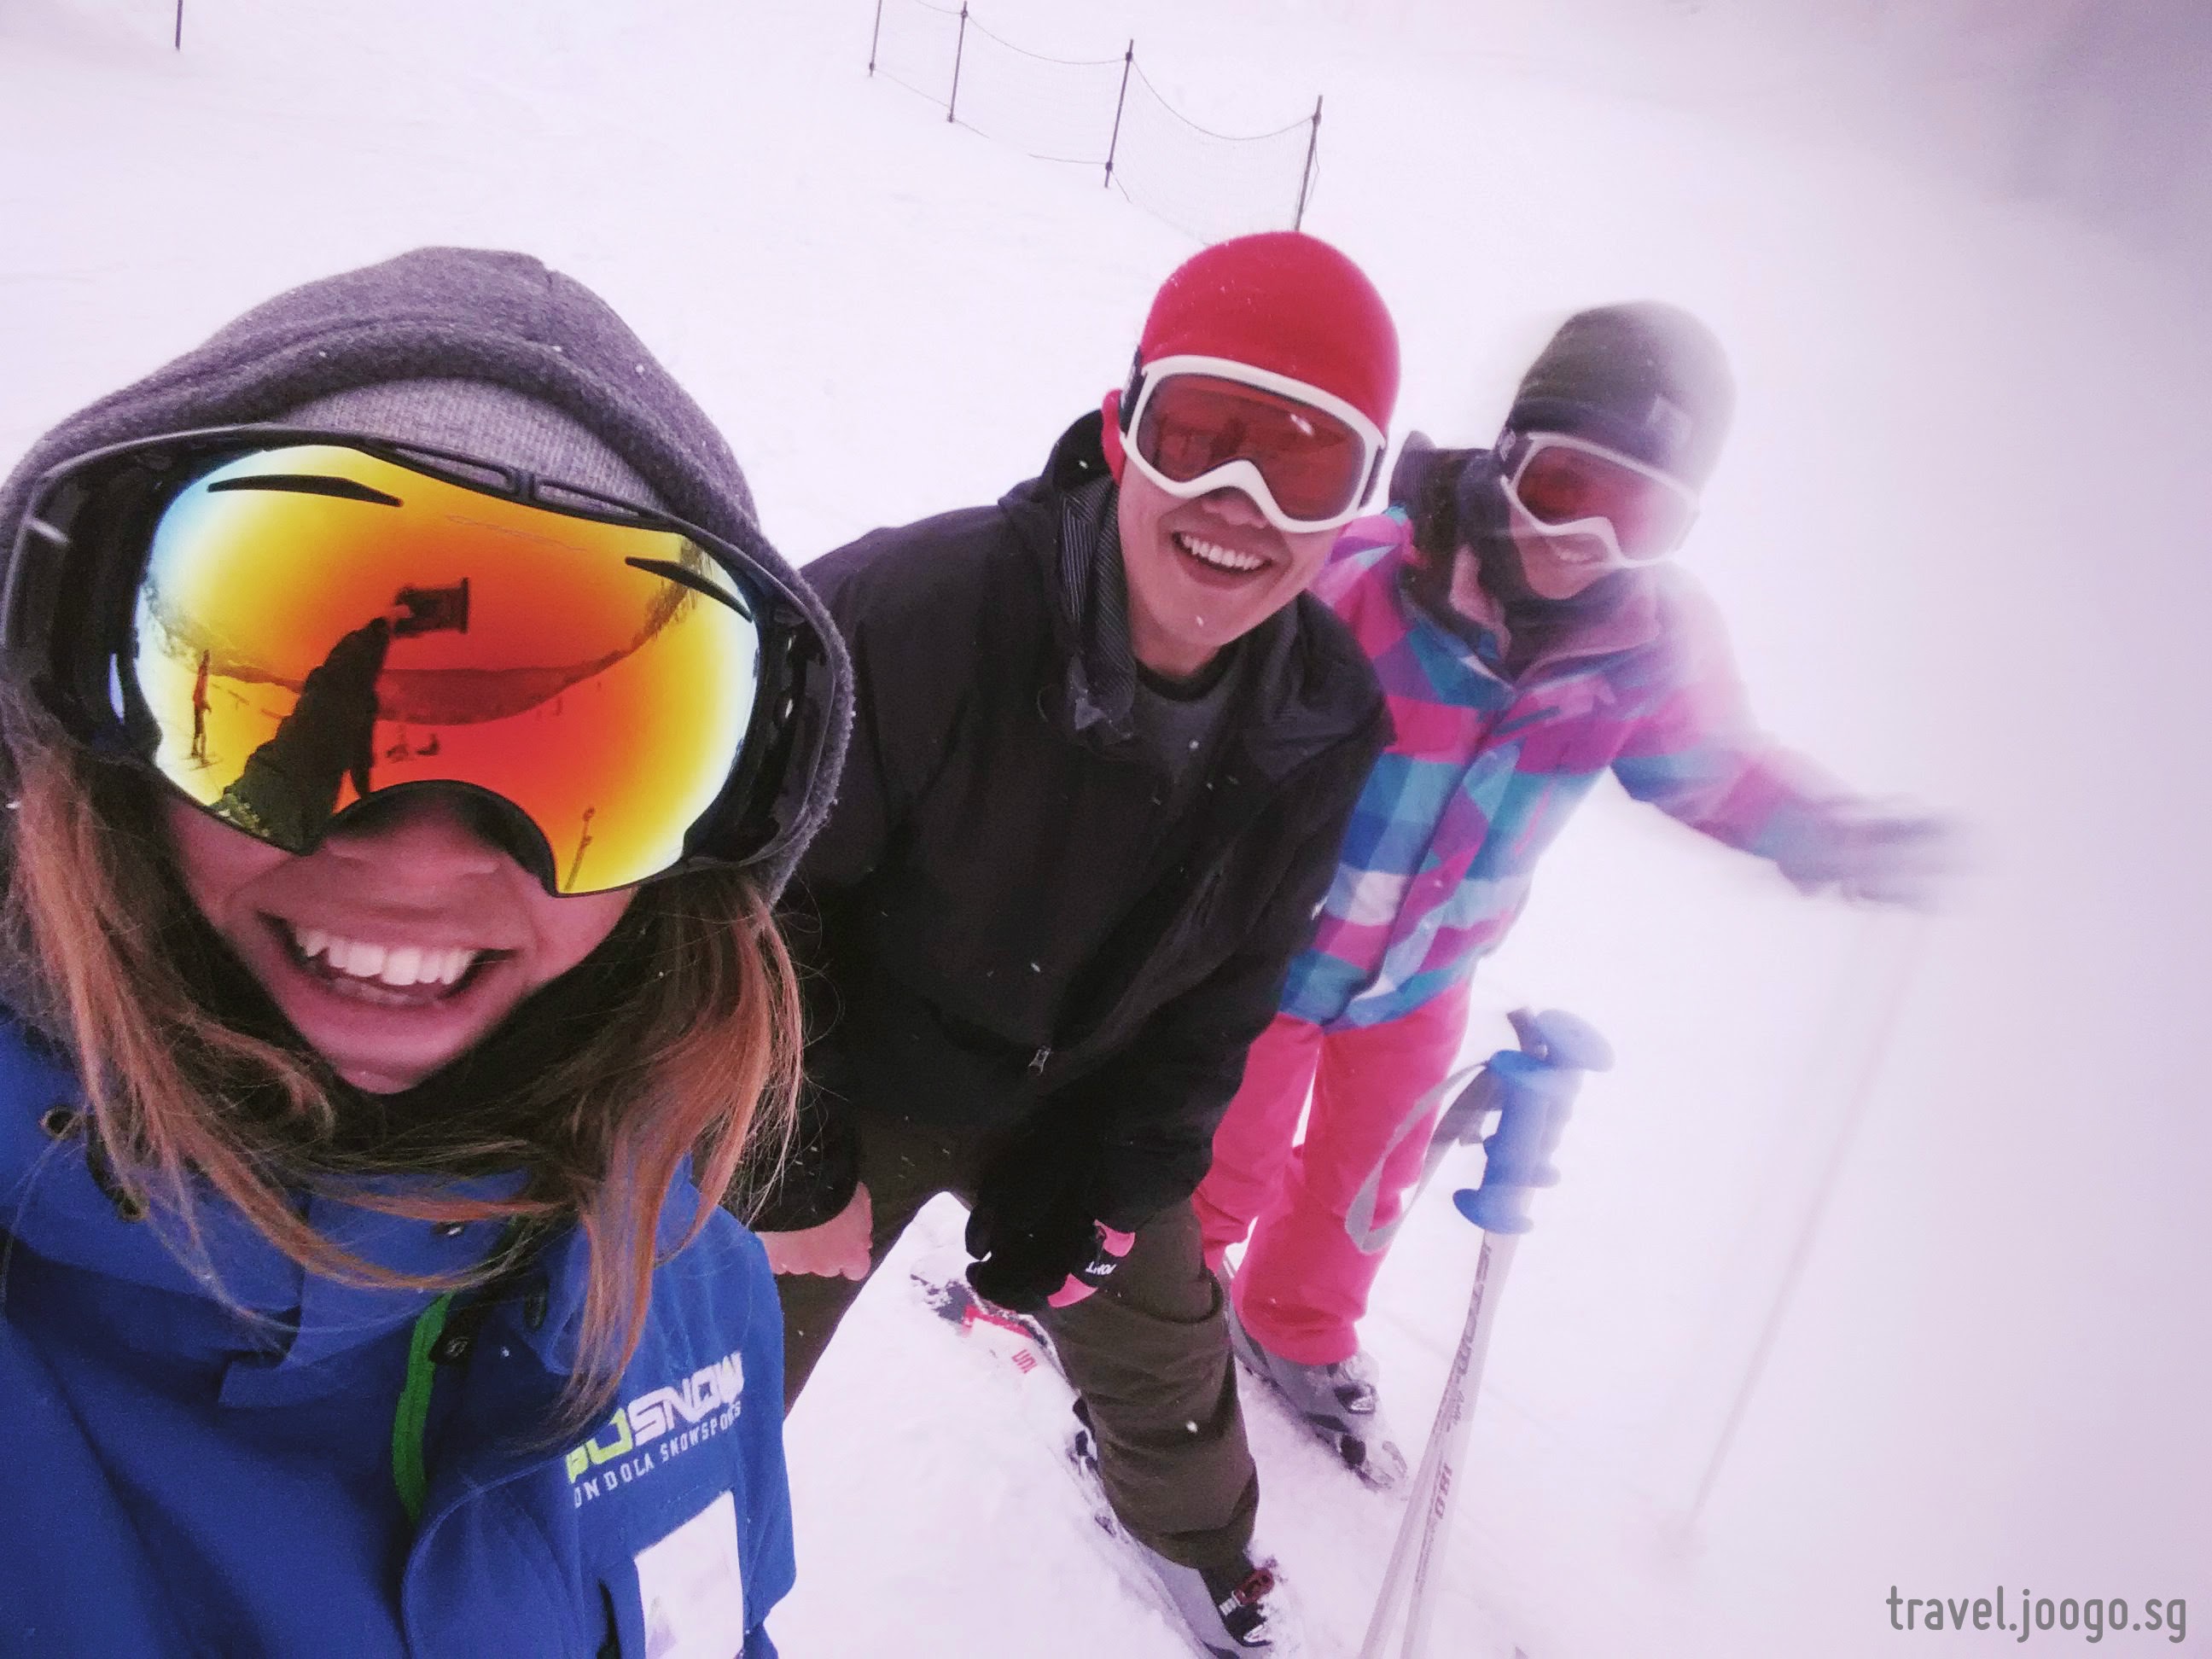
We went with Gondola Snowsports (GoSnow) because we won two full days lesson, along with our Ki Niseko 3D2N accommodation! :) GoSnow is highly recommended with its team of accredited instructors. They have private and group classes for students from 3 to 99 years old, from First Timers to Advanced. All their lessons are conducted in English. Most of their instructors are friendly, but ours was a bit more impatient. But overall, we had a good learning experience with GoSnow. :)

Niseko Ski Trip 2 - travel.joogo.sg

Ski lessons can be expensive, but it’s important to take ski lessons from certified ski instructor. Get your basics right and acquire good skiing habits and technique early on. Otherwise, it’ll be hard to unlearn the wrong stuff later on.

You might be tempted to save some money by learning from your loved ones who are good at skiing or snowboarding. However, that does not mean they are good at teaching or correcting your technique. Worse still, they might pass on their bad habits. Moreover, fights and arguments are bound to happen if the teacher is someone close to you. To further convince you, I have a friend who had a bad fall and broke his leg because he didn’t get proper lesson but a crash course from his wife.

Niseko Ski Trip 10 - travel.joogo.sg

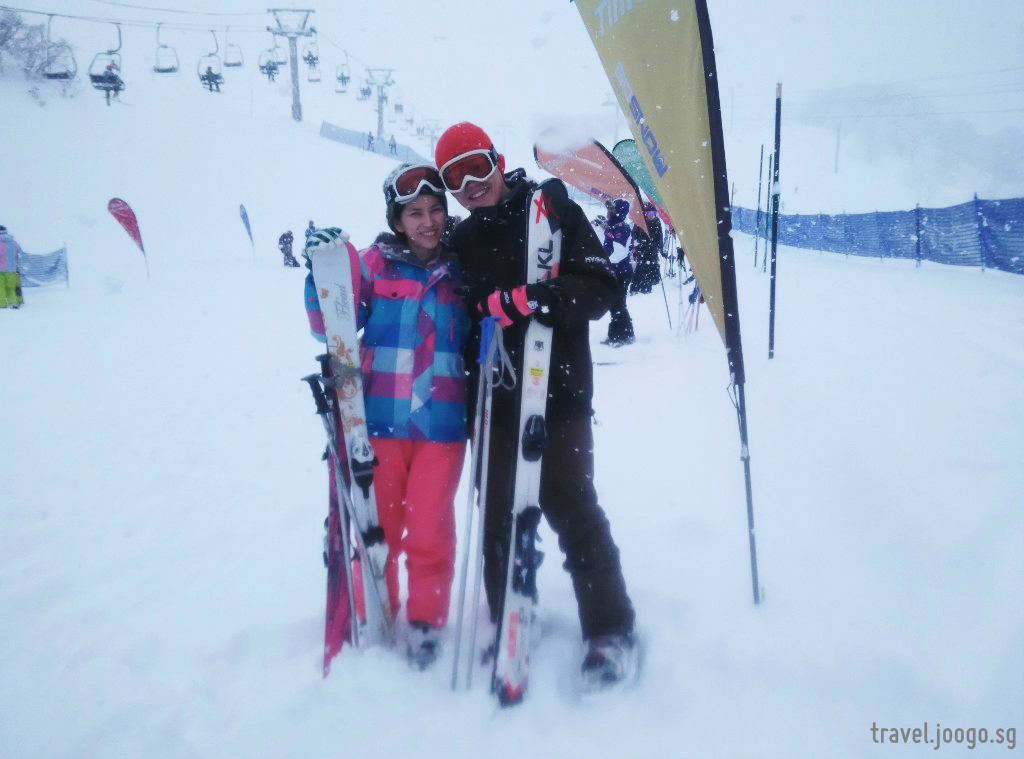
First Timers in Ski Suit

As first timers, we found it difficult to wear the ski boots and walk in the snow. To top it off, we were fumbling with the skis and poles as we tried to get our footing and walk.

I was so tired from walking a mere 100 metres on the first day of our lesson. Hubby helped me with the poles but I still had the skis. So when the school told us to report at the flags on the slope, I stopped at the first group of flags I saw. But then someone pointed out that it was the children’s section and I had to walk further up! I groaned. I was already sweating in the cold!

Niseko Ski Trip 3 - travel.joogo.sg

Eventually, I found a way that worked for me to walk in the ski boots. I shouldn’t be walking as I normally do, but bend my ankles and knees a little as if I’m kneeling. So I’d be like standing with 45 degrees forward-bent ankles and then walk in that stance.

Later on, the ski instructor taught us how to ‘click’ the skis together and then swing the skis and poles over our shoulder, like a man carrying a pole with 2 pails.

Children Skiing

It was so cute seeing the little ones learn skiing! Some of them were so good that they put us adult learners to shame. They picked up so quick with their sponge minds and flexible bodies (and low centre of gravity!). And when we were feeling fearful on the big slope* on our second day, a few children were zooming past us with ease and grace! I shall send my children to ski lessons in the future if possible. It’s good exercise and they learned to pick themselves up after a fall.

*Big slope mentioned in this post refer to the main slope where other professional skiers ski too. There’s a steep gradient towards the bottom.  

Niseko Ski Trip 5 - travel.joogo.sg

As in life, picking yourself up after a fall is not that easy! When you fall while skiing, you have to push yourself up with the ski poles using immense arm strength. The ski instructor helped us the first few times, but after a while, she would wait for us to get up on our own. “I wouldn’t always be with you,” she said. It’s especially hard on a big slope because our skis would slip down as we tried to stand on them. And it’s hard for other beginners in the class to help you because they themselves have trouble balancing on the big slope.

Ski Lesson – Day 1:

On the first day, our ski group comprised of a young Hong Kong couple in their twenties and later in the afternoon a Singaporean lady in her forties joined us. The ski instructor started off the lesson asking if we exercised on a regular basis. And when the Hong Kong lady said she doesn’t, the instructor made a comment, “You don’t exercise, but suddenly thought of doing skiing?” Woah Ohhh…

She actually made sense. Why should a sedentary person want to learn “extreme” sports like skiing just because it’s a “holiday sport”? Indeed, the lady had a hard time catching up with the lesson. But it could also be because of her poor grasp of English to understand the instructions.

Niseko Ski Trip 7 - travel.joogo.sg

Our ski instructor went on to teach us how to wear our goggles (wear them before you hit the slopes to prevent fogging), how to carry our ski equipment, the posture to ski, the technique to decrease speed and the S-curve path that prevents us from flying down the slope and crashing.

Before we hit the big slope, we started practicing on this mild slope with the children. This area is called the magic carpet because there was a machine (think flat escalator for supermarket trolleys) to bring us up the slope to ski down. The magic carpet is like a mini version of the ski lifts.

Anyway, because the Hong Kong couple weren’t able to pick up some basic skills, the instructor couldn’t take us further up the big slope on day 1. Thank God we hadn’t bought the lift pass then. The couple got the first timer package which included the lift pass, and so they went up the slope not to ski but just to enjoy the scenery.

Ski Lesson – Day 2:

On the second day, we were promoted from the first-timer to the beginner group and the group dynamics changed. With us on day 2 were a 20+ year old Caucasian guy who hadn’t skied for 10 years, a 30+ year old lady from Hong Kong and the same Singaporean lady from the first day. But by afternoon, it’s only us and the lady from Hong Kong. Will share my thoughts about that later on.

After a short refresher of Day 1, it’s time to take the ski chairlift to go up the slope! Getting up and down from the chair lift was scary for hubby and me! We had to slide into position with our skis on and wait for the fast incoming chairlift to scoop us up. Then as we alighted from the chairlift, we had to quickly jump and ski to the side. 80% of the time I would ski and tumble, but I had to quickly get up and not block the way. Even after multiple tries, getting on and off the ski lift remains a jittery process for us.

Niseko Ski Trip 8 - travel.joogo.sg

Don’t confuse the ski chairlift with the Gondola shown in the photo below. The gondola is an enclosed cable car and you have to remove your skis to board. So it’s more troublesome than the ski lift. However, if I’m not wrong, the Gondola carries the passengers further up the slope. We didn’t manage to take the Gondola.

Niseko Ski Trip 6 - travel.joogo.sg

Anyway, it was literally a steep learning curve for us. From a mild slope, we now had to ski down the big slope, and the last part was especially steep. We tended to zoom down and thus fall. To prevent such zooming, the instructor strictly instructed us to go on a S-course, but it was not easy bending my body for it. Moreover, I had to use considerable leg strength to form an inverted-v to slow down because when I went fast, the legs just wobbled out of control, and I sped even faster!

Learning to ski is like learning to cycle for the first time – you will keep falling. And like cycling, once you get the hang of it, you will enjoy it! Even though I mentioned all the fearful parts like the speed and chairlifts, hubby and I thoroughly enjoyed ourselves! We want to go back skiing again! 

Skiing at Niseko - travel.joogo.sg

On hindsight, the way I skied reflected my personality – a fearful one. I thought I was falling down by way of speed until the instructor commented, “Woah, you really love the snow that you have to keep going down!” I had an epiphany at that moment. Most of the time, I was the one throwing myself to the the ground if I felt like I was going too fast. Instead of slowing down with my legs, I braked by falling down. It’s like in life, I will cut myself short and give up if I come across scary roadblocks.

So with her feedback for the final lap, I gritted my teeth, strengthened my legs, and psyched my heart through the scary speed. I had to tell myself not to drop to the ground. Perhaps it’s also our last ski run, hubby and I told each other to try our best not to fall, and we didn’t!!! It had seemed so impossible because we fell every time we came down the slope, multiple times in fact. Woohoo! It felt like we conquered the world! All the hard work is worth it!

Niseko Ski Trip 9 - travel.joogo.sg

One last note about the ski lesson. As mentioned earlier, the Caucasian guy (Guy) and Singaporean lady (Lady) didn’t join us for the 2nd half of day 2. Why? I assumed it’s because the Guy was frustrated and the Lady embarrassed. The Lady kept falling down and had trouble getting up. She took quite some time to get up each time as well (instructor wouldn’t help like I said earlier). Once when the Lady fell again, hubby heard the Guy sighed in frustration. It meant our precious lesson time and money were wasted waiting for a slower learner. On the other hand, it can be quite stressful being the slowest learner!

Tip 1: About ski lesson. Basically we spent the 2nd half of the day skiing down the slopes over and over again. Go for individual lesson if you have the money. If not, signed up for half day, learn from the instructor and get feedback. Then keep practising in the afternoon. It’s all about practice and that’s what we were doing during the 2nd half of the day anyway.

Niseko Ski Trip 1 - travel.joogo.sg

Tip 2: About lift pass. There’s no need to get a first timer package with day lift pass included. You might not get to use them on your first day. Even if you use the lift, it’ll probably be after lunch and you can always get the pass during lunch. Also the website did not state this, but apparently you can get lift pass by the number of rides (buying points) instead of by day or hours. 10 – 15 rides for a day should be safe, but ask your ski instructor. In any case, you should be able to get refund on the rides or hours you didn’t utilise in your pass. Check their T&Cs for the refund policy.

Niseko Ski Trip - travel.joogo.sg

Learning a new skill is tough, but it’s fun when you have learned it! And you get beautiful views too! We captured this beautiful view of Mount Yotei after we alighted from our chairlift. And with this view, we skied our way down! :) Have fun learning to ski!!

Do you have other questions about skiing at Niseko, or skiing in general? Ask us below or on our Facebook Page or Instagram. Bookmark this page >> Overview Itinerary: Hokkaido and Tokyo (Winter/Spring 2016)


All Rights Reserved: All photos (unless credited) on travel.joogo.sg. Disclaimer: All data and information provided on this site is for informational purposes only. Travel.joogo.sg and/or the author shall not be held responsible for any injury, loss, expense or damage of any kind whatsoever suffered or incurred by any person who accesses or uses the information and external websites stated above. Full disclaimer here.
First Timer’s Guide: 8 Ski Terms and Lingo

First Timer’s Guide: 8 Ski Terms and Lingo

Is it your first time skiing? Have you come across ski terms you don’t understand? Here’s a quick rundown that’s useful for first timers. I came across the last term often while researching for my FIRST ski trip. p.s. You can always drop by another post if you want to know 

First Time Skiers: What to Wear for Skiing?

First Time Skiers: What to Wear for Skiing?

I’ve written two informative posts on how to layer your clothing for the different temperatures in winter: How To Layer Clothes for Winter? (Part 1) and Layering Clothes for Winter (Part 2). I’m sensitive to the cold, so what works for me should would for you too! 

Layering Clothes for Winter (Part 2)

Layering Clothes for Winter (Part 2)

If you’ve not been to cold countries and you’re thinking of how to start layering clothes for winter, you’ve come to the right place! And you must definitely read Part 1 and this post if you’re a Singaporean and a female. In Part 1, I shared important tips to fight the cold in winter, what to wear during cold climate of 1 to 15°C and below -10°C, what other travel essentials to bring for winter and my verdict of Uniqlo Heattech.

When we were in Japan, it was COOL climate in Tokyo (Mar) and CHILLY climate in Hokkaido (end-Feb to Mar) with FREEZING exception in Tomamu (end-Feb). What’s the difference between cool, chilly and freezing climate?

Sapporo 2 - travel.joogo.sg

Chilly Climate (-10 to 0°C)

In this post, I will go into the details of what to wear for chilly climate of -10 to 0°C. I will share what I wore from head to toe, along with some other recommendations. I highly recommend you to read How To Layer Clothes for Winter? (Part 1) before moving on with this post. :)

Compared to Tokyo, it was a totally different ball game in Hokkaido. Here are the temperatures we faced while in Hokkaido:

We skied at Niseko and it’s different from how we are usually dressed for the temperature – First Time Skiers: What to Wear for Skiing?

I shall not comment much on the -17°C of Tomamu, because the resort provided an extra jacket when we visited the ice village. Moreover, we were not prepared for the cold even as we walked in the resort’s indoor connecting tunnel and outdoors in the afternoon. For the rest of Hokkaido, we basically dressed more or less the same.


Head & Neck


Woolen Hat / Beanie

There’s studies that show that we lose heat fairly evenly across all exposed areas of our bodies – and the head is no different. However, the head is more sensitive to cold and hence it’s still good to get a woolen hat or beanie.

An average priced hat most probably keeps your head as warm as the expensive ones. For the latter, you are just paying more for the comfort that might be negligible. For ladies with long hair, you can consider woolen hats where you can tuck your hair in, in case the hair gets in the way of your jacket zipper like it did to me.Woolen hat

Image Credit: huffingtonpost.com, pinterest.com/pin/308989224403731484

Ear Muffs

Ear muffs are not critical. We didn’t have to wear ours during the trip. The cold bites the ears, however, you can pull down your woolen hat or beanie to cover the ears or wrap your scarf upwards to cover your ears and mouth. I pulled down my hat and put on my jacket’s hoodie to cover up my ears and head. However, if you don’t want to wear a hat or your jacket does not come with a hoodie, ear muffs will come in handy. Some wear ear muffs for fashion purposes.

Scarf

Invest in a scarf! It keeps you warm and doubles up as a ear muff or face mask. Your neck will feel the cold once the temperature drops to a single digit, especially when it is windy. Like woolen hats, spending more money on an expensive scarf doesn’t mean it will keep your neck warmer.

I wore a heattech scarf. Is Uniqlo heattech any good?

Face Mask

Mask is good to shield your face from the cold air and wind. We saw a lot of people wearing face masks in Japan. It could be because they want to keep out the germs in the air or some other hygiene purposes. In any case, I bought a packet in Japan, and put the disposable face mask on when it’s cold. It helps to keep the cold away! Especially when it’s windy. You can easily buy disposable face masks from a range of choices at Japan’s convenience stores.

Winter Wear Face Mask - travel.joogo.sg


Upper & Lower Body


Thermal Underwear / Innerwear (Base Layer)

I have always thought that thermal underwear is a must for cold countries. But there are advocates who don’t like to wear them, unless it’s below -10 degrees. According to them, most tourists will not stay outdoors for a long period of time, but in heated indoors of about 23 degrees. In this case, the thermal underwear might make you uncomfortable, itchy and sometimes develop a heat rash.

Merino Wool
Image: facebook.com/IcebreakerSG

Regardless, my hubby got Uniqlo’s heattech thermal wear because it was going on sale – for S$26 per set. It’s a very thin and lightweight garment that supposedly absorbs the body moisture and generates heat. It’s not itchy like the typical woolen long john. I didn’t get this thermal underwear because I tried it years ago and it didn’t kept me warm. But it did keep my friend warm during her Korea trip. And my hubby actually recommend it, but not for super cold countries. If you must you should get their “extra warmth” series to fight the cold.

Knowing that I’m going to ski, a friend recommended merino wool thermal underwear as base layer. It’s a premium wear made from a special breed of sheep with finer fibers that make it softer and thus not itchy as compared to regular woolen long johns. It is also warmer than synthetic material, dries quickly, and does not absorb odors.

Icebreaker is well-known for its broadest selection of New Zealand merino wool base layers and outdoor clothing. But it’s super expensive. Hence I borrowed a Icebreaker hoodie and a pair of leggings (underwear) from a friend. Verdict? I love it! If I am going to another cold country, I’ll probably invest in a set of icebreaker merino wool base layer. :)

IceBreaker Merino

Image: eu.icebreaker.com

Layering (Upper Body)

It is important to layer up at least three layers for below zero temperatures. When layering up, it’s still important to cover your head and hands. And remember to keep your layers toilet friendly! However I usually have 4 layers on me because I tend to feel cold.

Typical layers* (my hubby style):

  • Long Johns/Thermal Underwear (you should wear unless you have a really good layers and jacket)
  • Wool top or T-shirt (Try to avoid cotton**)
  • Merino wool or Fleece cardigan (you may omit this if you have good long johns or jacket. Or if you’re not afraid of the cold)
  • Outer winter coat/jacket

My layers:

  • Long sleeved half turtle neck wool top
  • Merino wool long sleeve hoodie and/or Red baggy woolen top (shown above under cold climate)
  • Uniqlo Fleece cardigan
  • Outer winter coat/jacket

* For layering of clothes for winter temperatures above 0°C or below -10°C, refer to Part 1.

**Tip: Your first layer matters, whether a long john set or t-shirt, try to avoid cotton as it does not wick away perspiration. That means, when you perspire, the base layer gets wet and the moisture becomes icy and you will feel cold. Wool and polyester are better choices.

How To Layer Clothes for Winter and Skiing - travel.joogo.sg

Winter Coat / Down Jacket (Upper Body)

I used to wonder why people would wear the “bubbly” kind of jacket over the trendy trench coat. But I’ve since learned that the wonders of a down jacket. Down are small, fine feathers found close to a bird’s skin, duck and goose (latter is more expensive). A down jacket keeps you warm and yet are light and not too bulky. Note that not all “bubbly” jackets are filled with down. 

Here are some tips for choosing a down jacket:

  • Filling: Make sure the “bubbly” jacket you are getting is really what you want. They can be filled with either down or synthetic insulation. One might prefer the water-resistant synthetic. But personally, I’ll go for down. Here’s a comparison guide: sierratradingpost.com/lp2/down-vs-synthetic-guide. For those getting from taobao, do note the misleading words: 羽绒棉 (referring to synthetic materials) and 羽绒服 (down). But just to give you more assurance, search for those with 白鸭绒.
  • Amount of Down (refer to the jacket’s information label):
    • There’s usually a ratio or percentage of down and regular feathers. The higher percentage of down, the better the insulation and quality.
    • Down Weight (充绒量)
    • Down jacket’s fill power – Higher the fill power, the better the insulation, the lighter and more compressible it is. Compress the jacket, it’s good if the material bounces back to its original position fast enough.
    • Not losing Down: When purchasing, be sure to inspect the material to ensure that no feathers or down is poking out of it. Otherwise, you’ll be losing a lot of feathers. To be sure, compress the jacket to see if the feathers will poke come out.
  • Outer Shell: Nylon and polyester usually form the outer layer of a down jacket. Best if the jacket has an extra layer laminated onto the fabric for water resistant purposes.

Layering Clothes for Winter - travel.joogo.sg

Photo taken in Sapporo

Tip 1: For ladies, get a 3/4 length winter coat that covers your butt. It gives you more warmth by covering more body areas, namely your butt. Moreover, it’s a good cover up when I wear leggings with a long top to cover my butt. Also as seen in the photo, with my jacket short, my long top was longer than the jacket and that didn’t look nice on me. :P

Tip 2: When you go indoors, take off your outer layer. Otherwise, your body will be too warmed up indoors and you will get super cold when you head outside again. See what the locals do when they stepped inside and follow!

Layering (Bottoms; Lower Body)

Typical layers* (my hubby style):

  • Long Johns/Thermal Underwear
  • Long pants that are water resistant or dry easily^. Try not to wear jeans especially in places with snow. The melting snow on the jeans will be hard to dry, making you cold.

My layers:

  • Merino Wool Thermal Underwear
  • A few options:
    • Leggings with inner lining (as seen in photo below)
    • Heattech Leggings + Heattech Pants
    • Heattech Leggings x 2

Inner lining leggings for winter

^Tip: Wet clothing do not keep you warm – when you sweat or when the snow gets on your clothing and melts. Evaporation will remove your body heat and make you feel colder. So try to get non absorbent clothing material.

*For layering of clothes for winter temperatures above 0°C or below -10°C, refer to Part 1.


Hands & Feet


Gloves

Wear your gloves! Better still if it’s waterproof or water-resistant because wet gloves might make you colder than not wearing them. It could get wet because of:

  • Rain.
  • Snow melting at our warm touch. After you touched the snow with your gloves, the snow sticks to them. The snow then melts when you enter a warm place. So make sure you brush off any snow from your gloves before you get indoors. Again, I shall mention wet clothing makes you cold.

Shoes 

It is important to keep your shoes and socks dry in cold weather. Hence, wear water-resistant or waterproof shoes to prevent your socks from getting wet from the rain or melting snow. Wet socks means wet, cold and uncomfortable feet. However, most shoes are not 100% waterproof, unless you get rubber boots.

Water-resistant: able to resist the penetration of water to some degree but not entirely.
Water-repellent: not easily penetrated by water, especially as a result of being treated for such a purpose with a surface coating.
Waterproof: impervious to water.” – Hzo.com

But your footwear must be at least water-resistant to guard against melting snow. It melts even at -10 degrees:

  • In urban areas, you might accidentally step into a water puddle and get your shoes wet. Water puddles at freezing temperature? Urban roads and pavements are often gritted. This means a mixture of rock salt and grit is poured over the surface to lower its freezing point, which in turn stops ice from forming and melts existing ice or snow into a watery slush.
  • Your feet at a body temperature of 37°C are warm enough to heat up your shoes and melt the snow a little as you walk through ankle deep snow. Your shoes will be wet.

Winter Boots

I bought a pair of water-resistant boots with a little elevation (made me taller), padding on the inside and anti-skid soles. It was one of my best winter wear buys! More importantly, it’s comfortable to walk in. :) I wore it through the 10 days in Hokkaido and Tokyo. However, I was a bit on the kiasu side to get this pair of boots because my feet get cold easily and I didn’t want to slip on the ice and snow. Even well-trained locals slipped from time to time!

If you want to invest in a pair of boots, research and get the right one that’s suitable for cold or snowy conditions. Don’t get the ones for the tropics and deserts.

But if you don’t want to get a pair of special footwear just for one-time wear, you can always wear your existing shoes, trainers and boots. To test if they can cope with the wet weather, wear your shoes and socks into the shower and give your shoes a good splash. Wait a minute or two. If the pair of shoes doesn’t absorb water and soak through, it is good to go! If you’re going to a country with snow, buy anti-slip pads and attach them to your normal footwear. It will give you a better grip as you walk. You can easily buy them at Japan’s convenience stores.

IMG_20160304_120234_HDR

Photo taken in Otaru (near Sapporo)

Caution: Keep a lookout as you walk and don’t stepped on the ice, or even walk over it. Walk around the ice. You can usually find ice at the edges of a building where melting water from the roof drips onto the pavement. It also happens when the temperature hovers around 0°C (e.g. 3°C in the day when the snow melts, then -2°C at night when the snow refreezes into solid ice).

Tip: It’s always good etiquette to brush off any snow on your clothes and shoes when you enter a warm area. Kick the shoes against the edge of a wall or pillar to remove snow underneath. Or use your hands. If not, you’ll bringing in the snow which will soon melt into puddles of water. Also, the melting snow can dampen your clothing and shoes.

Socks

Even with my padded boots, I wore two pairs of socks throughout my time in Hokkaido. 2 out of 4 pairs I brought along for the trip are Uniqlo’s heattech. Hubby wore only one pair of socks, alternating between his normal socks worn in Singapore and heattech.

If you have other questions or suggestions, comment below or on our Facebook Page or Instagram. Bookmark this page > Overview Itinerary: Hokkaido and Tokyo (Winter/Spring 2016)

All Rights Reserved: All photos (unless credited) on travel.joogo.sg. Disclaimer: All data and information provided on this site is for informational purposes only. Travel.joogo.sg and/or the author shall not be held responsible for any injury, loss, expense or damage of any kind whatsoever suffered or incurred by any person who accesses or uses the information and external websites stated above.
How To Layer Clothes for Winter? (Part 1)

How To Layer Clothes for Winter? (Part 1)

If you’ve not been to cold countries and you’re thinking of how to layer clothes for winter, you’ve come to the right place! And you must definitely read on if you’re a Singaporean and a female. Being from tropical Singapore, I am like most Singaporeans